Import the PNG
Choose the transparent-background option so the artwork arrives without a white square around it.
 PIXELSFROMOZ
Large transparent files are useful for both digital layouts and print-then-cut projects. Scale the artwork only after deciding its physical size, and test one element before printing a complete sheet.
Start with the layout decision, then add artwork. This keeps the finished piece useful instead of merely full.
Choose the transparent-background option so the artwork arrives without a white square around it.
A modest white contour gives print-then-cut pieces a forgiving edge and helps pale artwork stand out.
Use one larger character as the focal point, then repeat small supporting graphics to connect the page.
Make one element noticeably larger or more important. Repeating every graphic at the same size makes the page harder to scan.
Leave calm space for names, dates, labels, or instructions. Artwork should frame the message, not compete with it.
Once the first layout works, repeat the same visual rules across the next card, label, sign, or sticker sheet.
These packs are selected for this project rather than presented as the full catalogue.
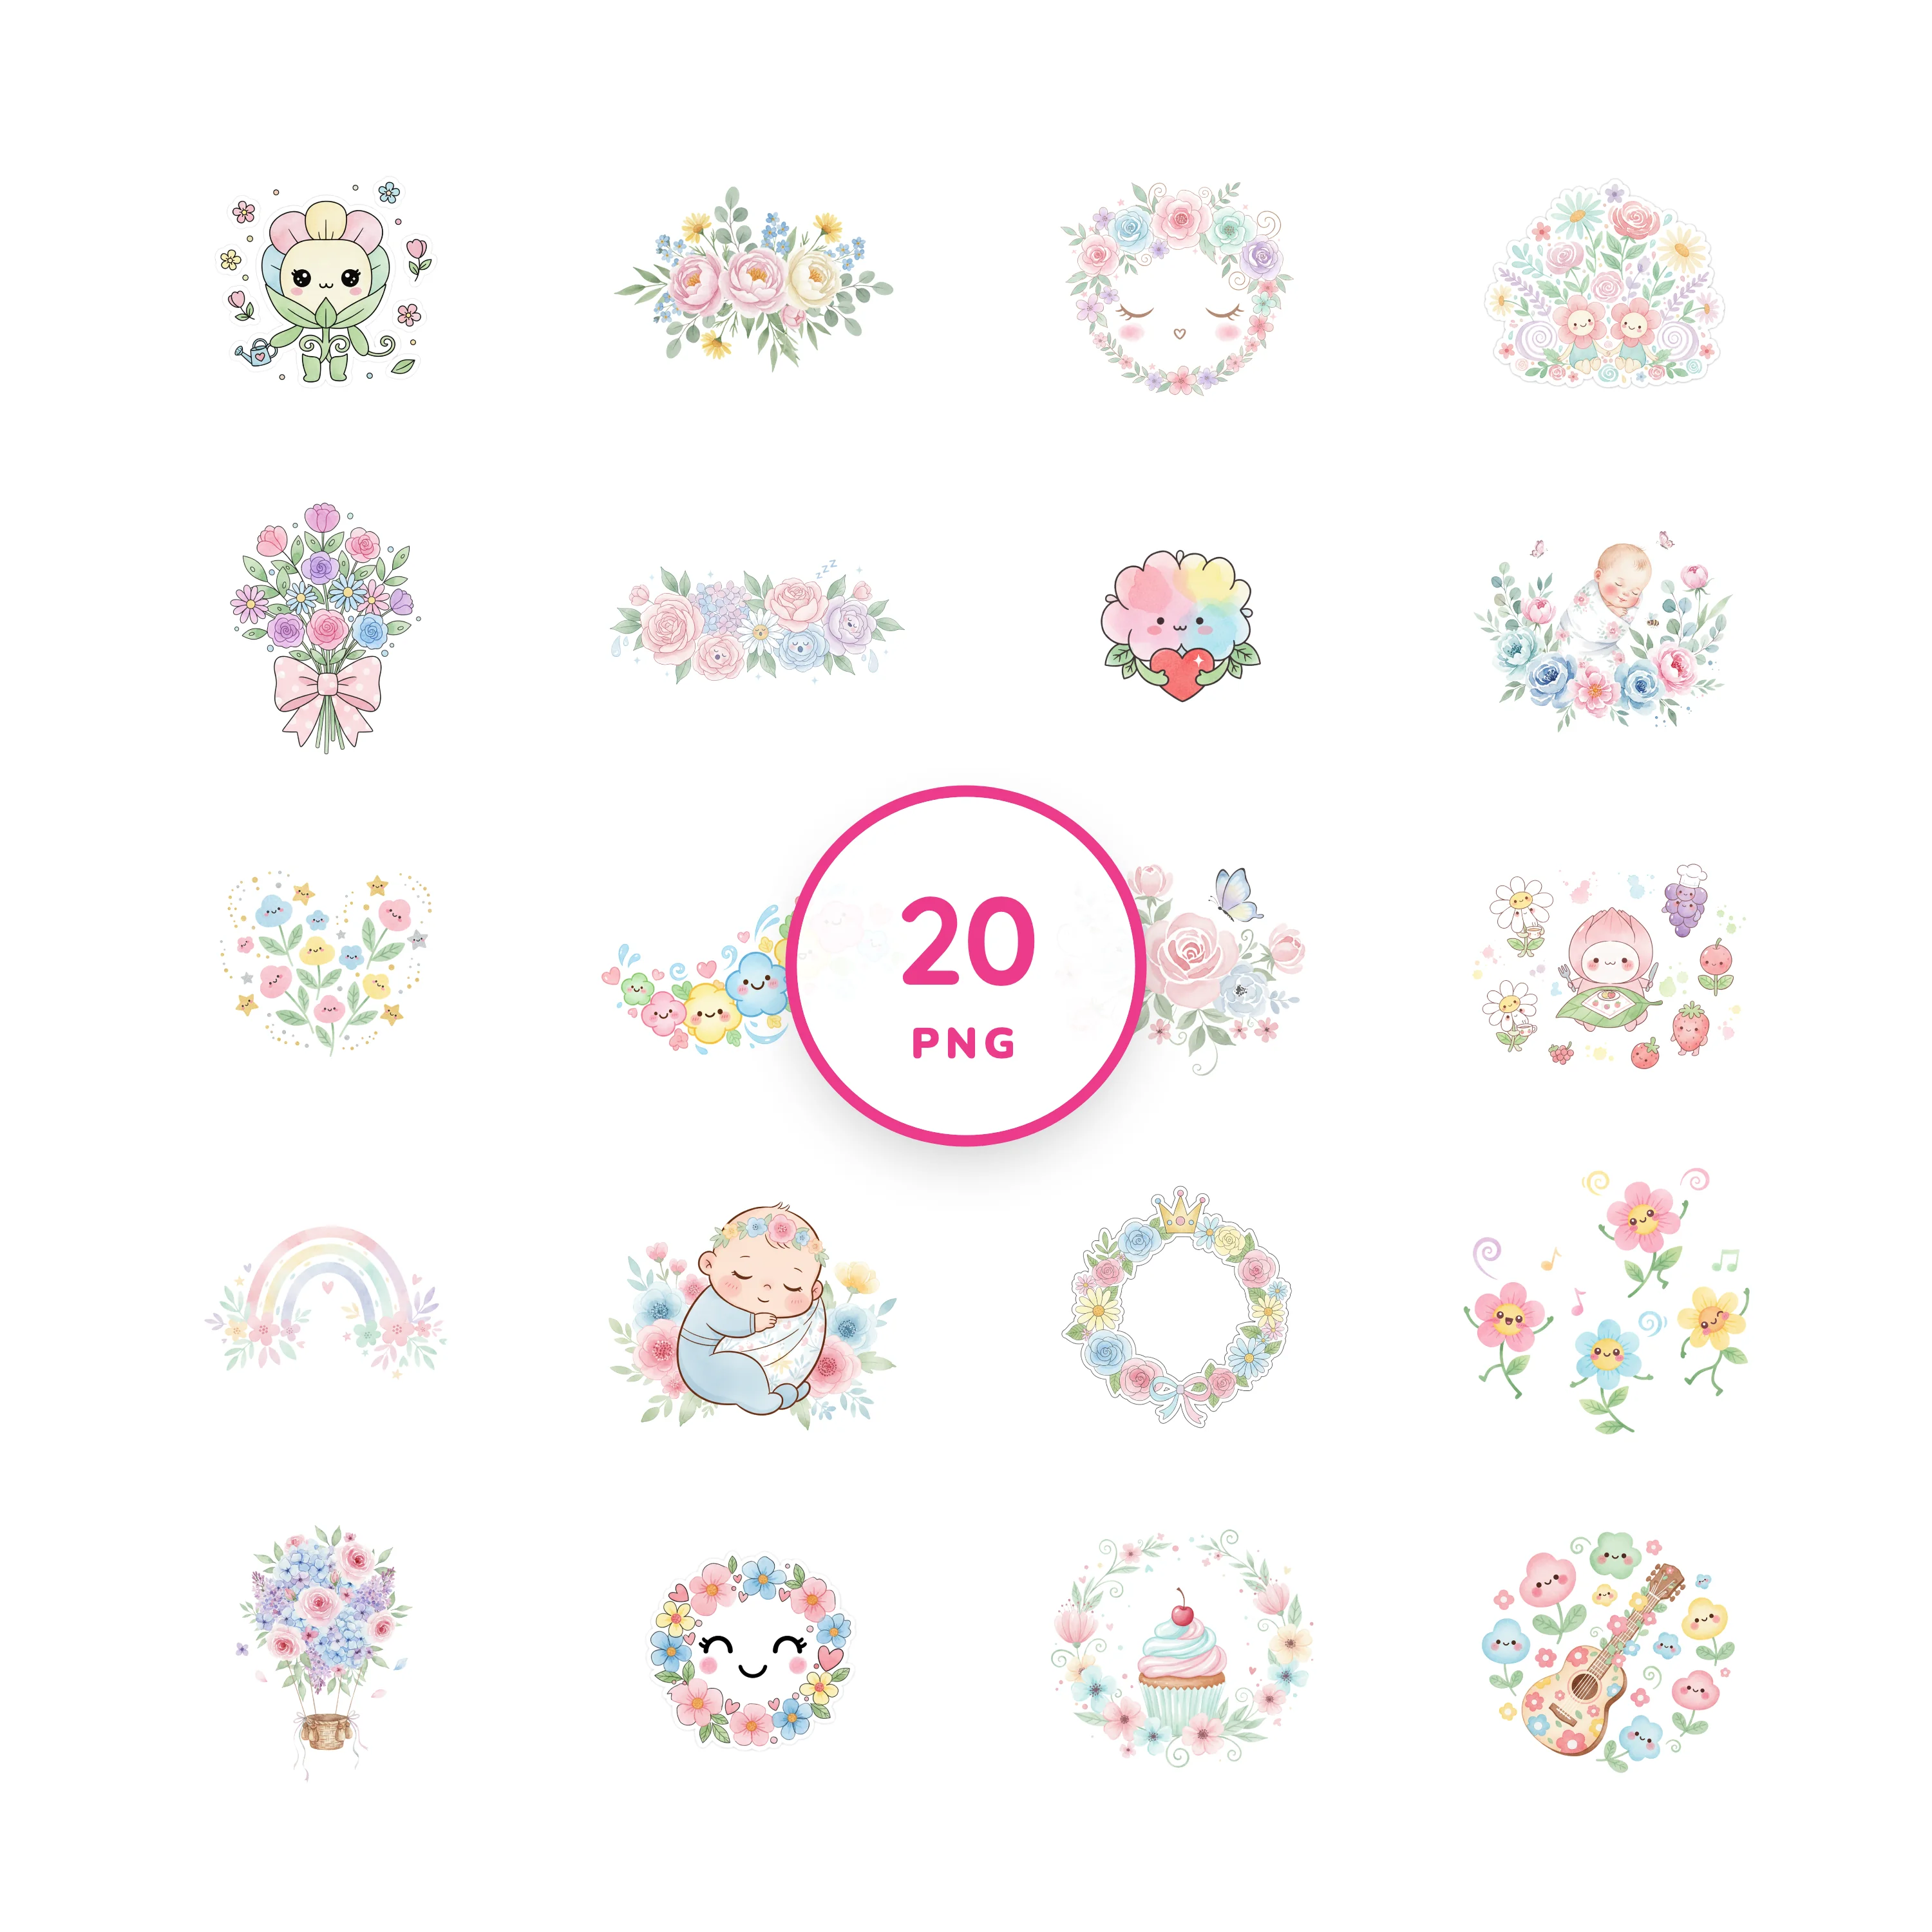
Soft kawaii flower graphics designed to add a bright little bloom to a creative idea.
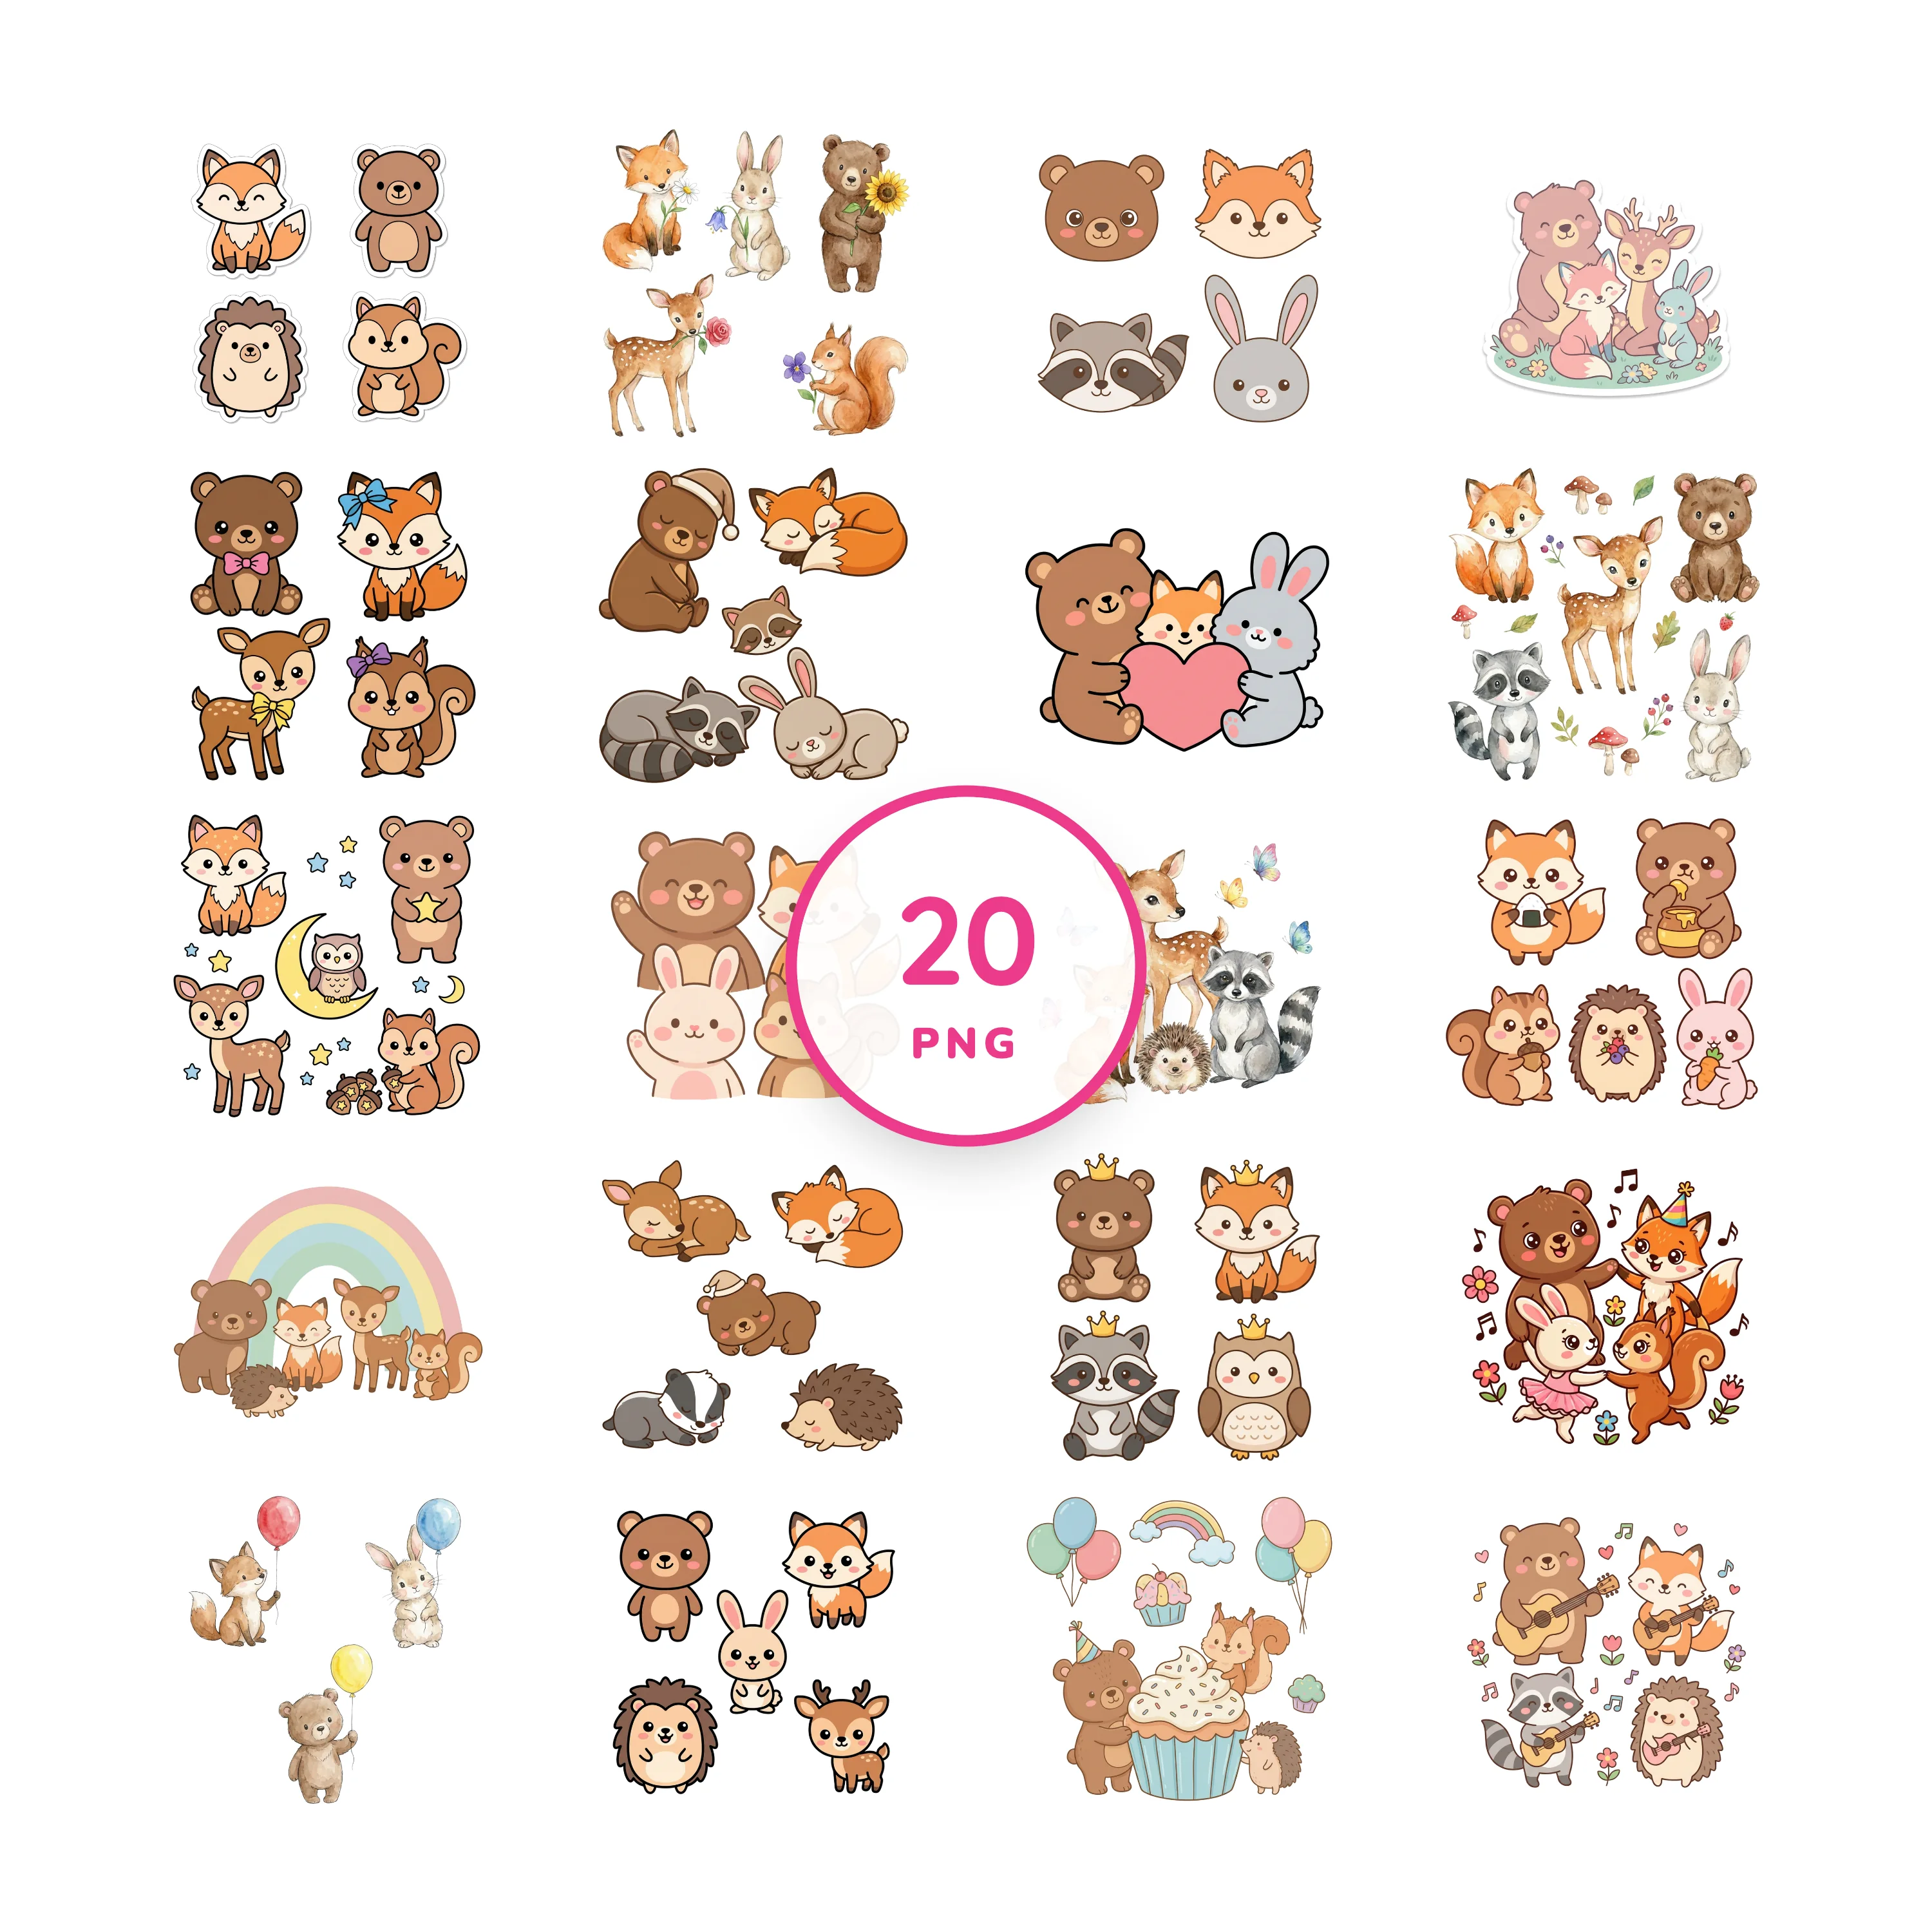
Friendly forest animals for cheerful stickers, cards, party details, and craft projects.
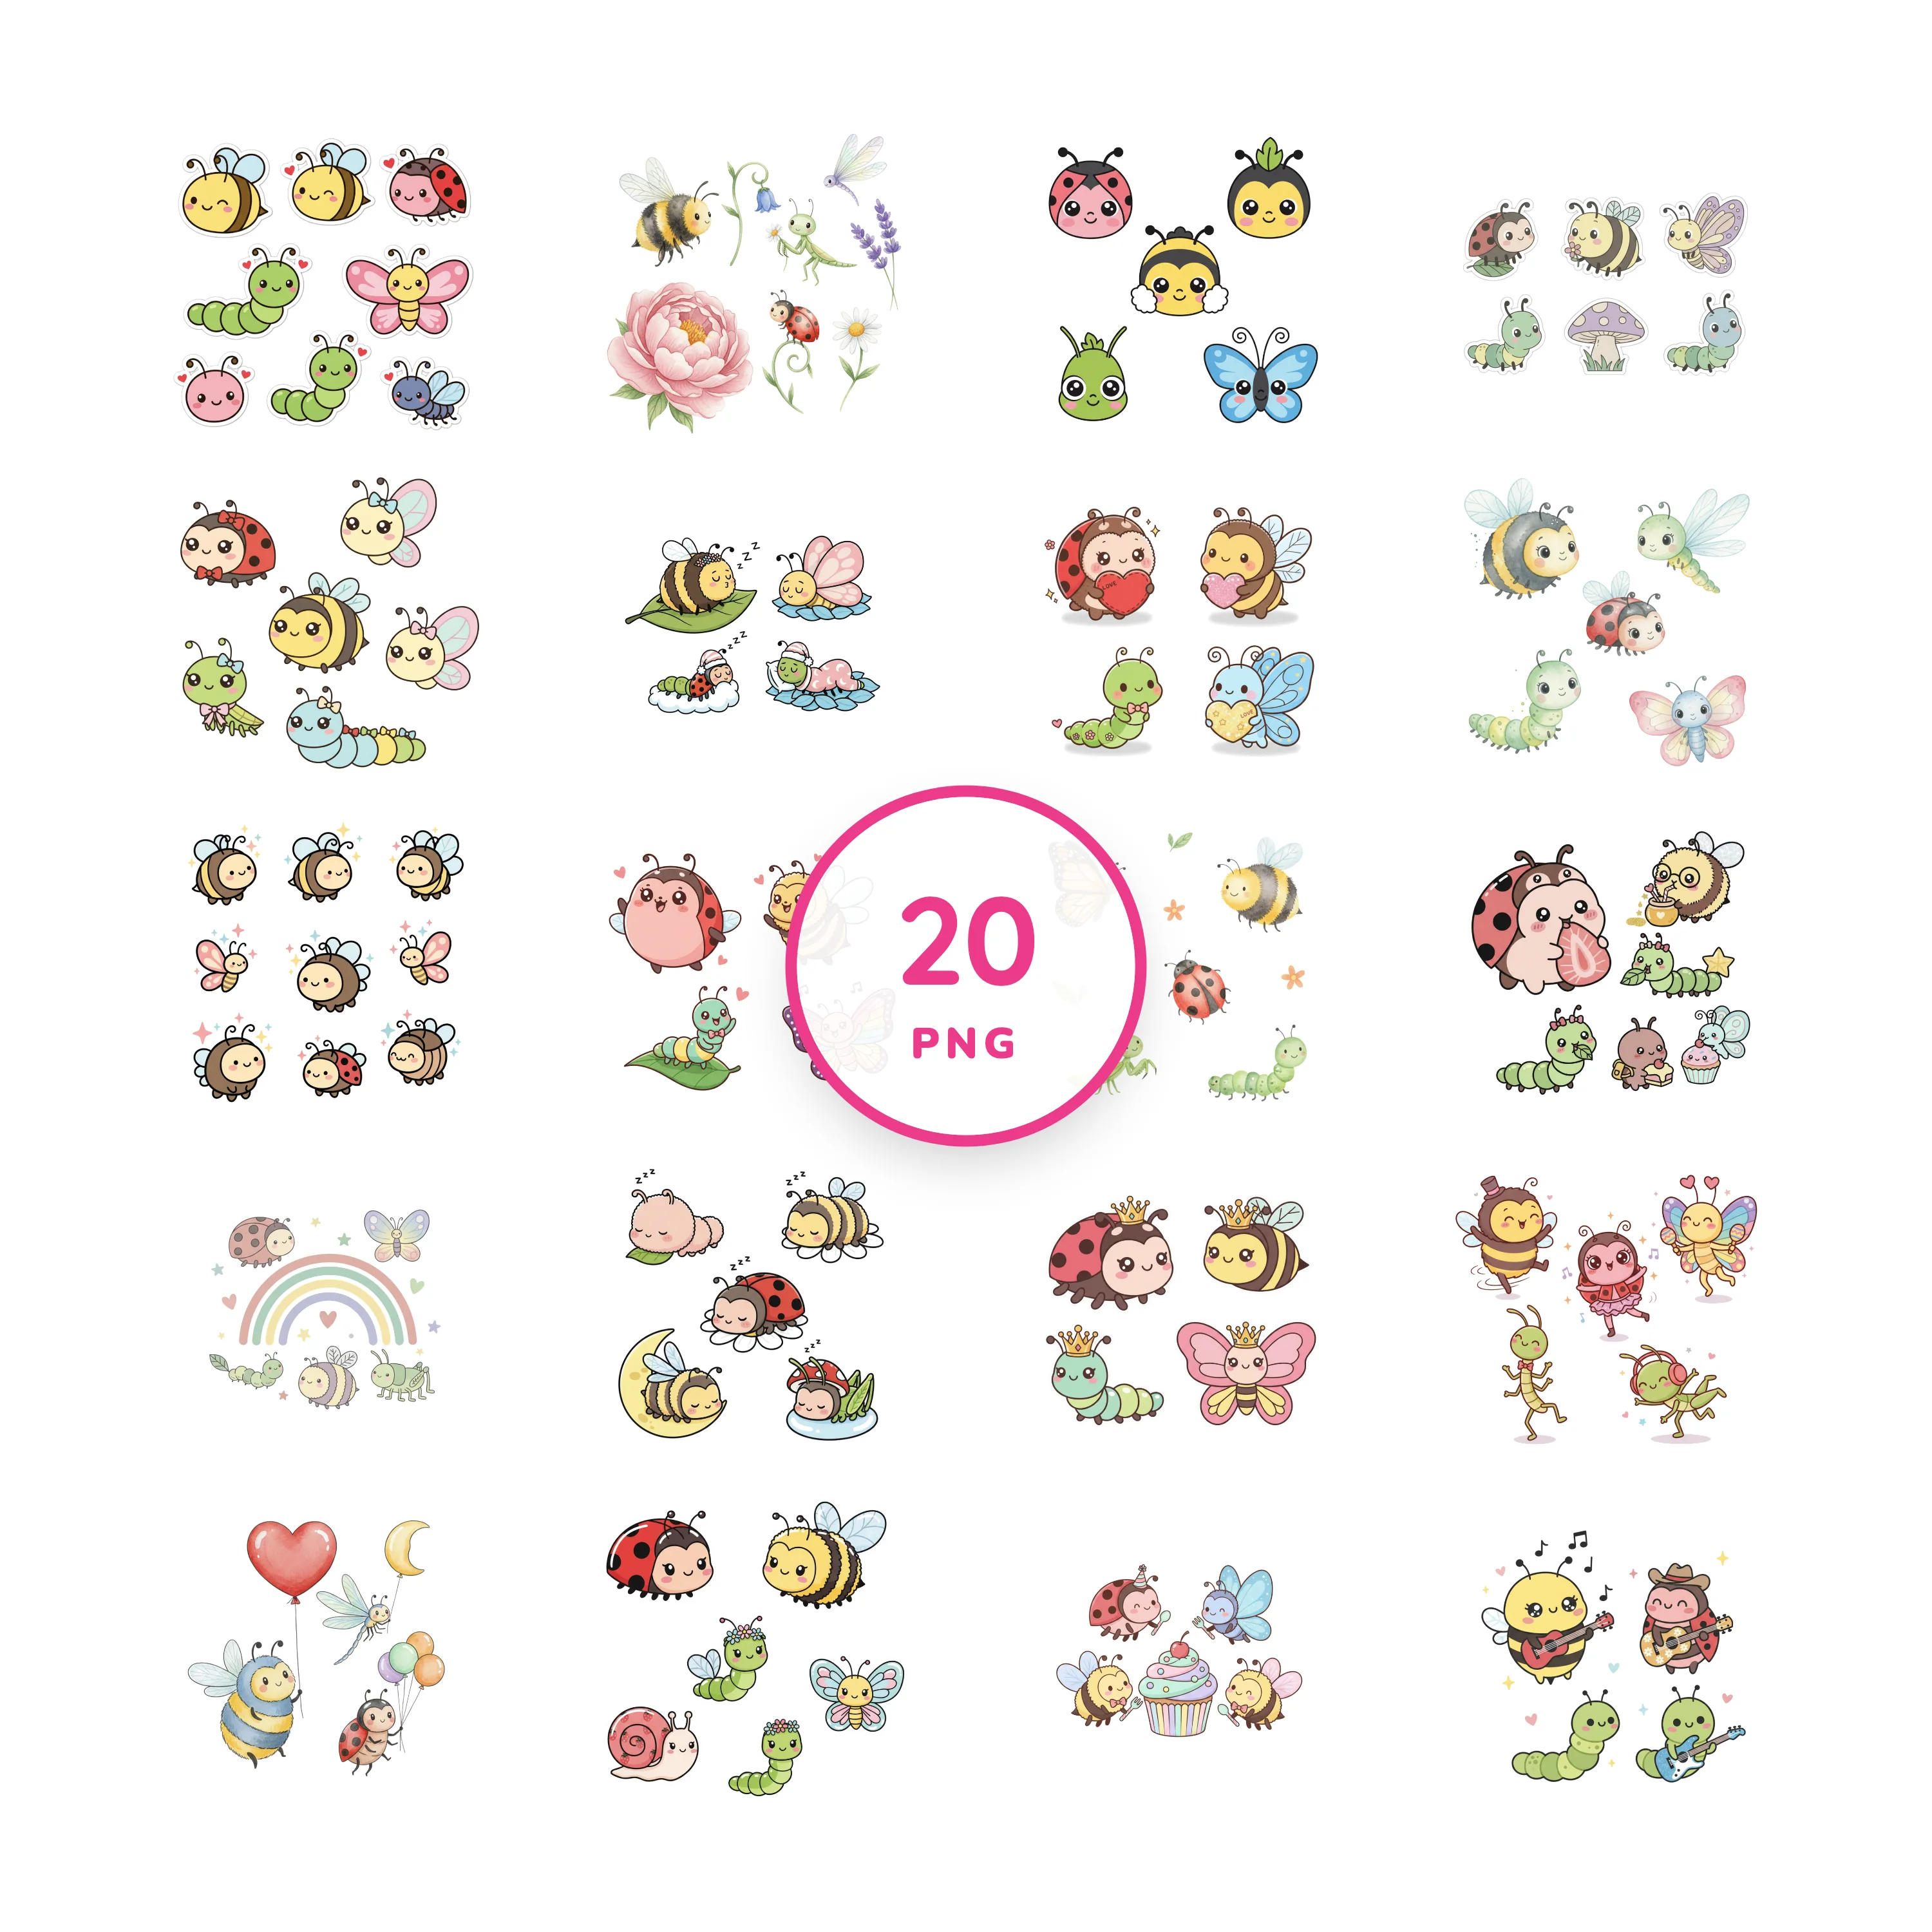
Sweet bugs and garden characters with big expressions and playful pastel details.
Use the guide as a starting point, then repeat the layout with the collection that fits your project.